Every great website needs a contact form. It’s the simplest way for visitors to get in touch, ask questions, or provide feedback. But if you’re not a developer, the idea of creating one from scratch can feel overwhelming. You might be picturing complicated code, confusing settings, and a whole lot of frustration.
What if you could build a professional-looking contact form in just a few clicks—without ever touching a line of code?
With VPSUForm, it’s not just possible; it’s incredibly easy. This powerful WordPress form builder is designed for beginners and experts alike. In this post, we’ll walk you through the process, and you’ll see how quickly you can have a beautiful, functional contact form ready to go live on your site.
Creating a professional contact form for your WordPress site doesn’t have to be a headache. With VPSUForm, you get a powerful, user-friendly tool that saves you time and frustration, all while helping you connect with your audience. Ready to build your first form? Download VPSUForm today and see how easy it is to get started!
Step 1: Install the VPSUForm Plugin
First things first, you need to add the plugin to your WordPress site.- From your WordPress dashboard, go to Plugins > Add New.
- Search for “VPSUForm” in the search bar.
- Click Install Now and then Activate.
Step 2: Create Your First Form
Once the plugin is active, you’ll find a new “VPSUForm” menu item in your dashboard.- Click on VPSUForm > Add New.
- You’ll be taken to the form builder page. Give your form a name, such as “Contact Us Form.”
- You can either start from a blank canvas or choose from one of the pre-built templates for common forms like contact, survey, or feedback forms.
Step 3: Use the Drag-and-Drop Builder to Customize
This is where the magic happens. The VPSUForm builder uses a simple drag-and-drop interface that makes customization a breeze.- On the left side of your screen, you’ll see a list of available fields like Name, Email, Phone, Message, and more.
- Simply click on a field and drag it onto your form on the right.
- To edit a field, click on it. You can change the label (e.g., from “Name” to “Your Name”), make it a required field, or add a placeholder text.
- Rearrange the fields in any order you like by dragging them up or down.
Step 4: Publish Your Form to a Page
Your form is built, and now it’s time to put it on your website.- After you’ve saved your form, a shortcode will be generated for you. It will look something like [ vpsuform id=”123″ ].
- Navigate to the page where you want the form to appear (for example, your “Contact Us” page).
- Edit the page and simply paste the shortcode directly into a Shortcode block or a Paragraph block.
- Update the page, and your stunning new contact form is live!
Why VPSUForm Is the Right Choice for Your Website
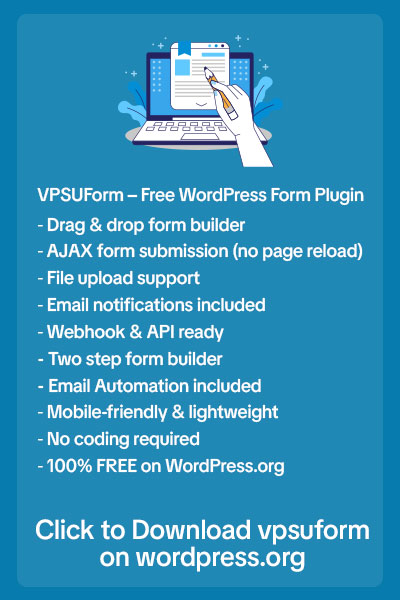
Building a form is one thing, but having a powerful tool that solves real problems is another. Here’s why VPSUForm stands out:- Built-in Spam Protection: Say goodbye to endless spam emails. Our plugin includes advanced anti-spam features like reCAPTCHA and honeypot fields to keep your inbox clean.
- Ready-to-Use Templates: Don’t want to start from scratch? We offer a variety of templates for contact forms, surveys, job applications, and more, so you can get started even faster.
- Smart Integrations: Connect your forms to other services you love. Easily send new submissions to tools like Google Sheets, Zapier, and Mailchimp to automate your workflow.
- Mobile-Friendly Design: Every form you create is automatically responsive and looks great on any device, from desktops to smartphones.
Creating a professional contact form for your WordPress site doesn’t have to be a headache. With VPSUForm, you get a powerful, user-friendly tool that saves you time and frustration, all while helping you connect with your audience. Ready to build your first form?


