Want to add a contact form to your WordPress website? Whether you’re running a small business, personal blog, or agency site, a contact form is the easiest way to stay connected with your visitors — and it’s easier than you think.
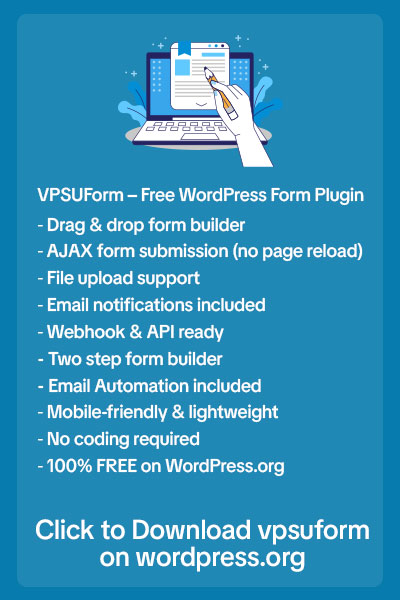
In this tutorial, we’ll show you how to create a simple contact form in WordPress using VPSUForm, a powerful and user-friendly form builder plugin.
Why Add a Contact Form to Your Site?
Adding a contact form helps you:
-
Let visitors reach out without exposing your email address.
-
Receive messages in a structured format.
-
Reduce spam with form-level security.
-
Improve engagement and conversions.
Now let’s build your form in just a few easy steps.
Step 1: Install and Activate the VPSUForm Plugin
To get started, you’ll need to install the VPSUForm plugin.
- In your WordPress dashboard, go to Plugins → Add New.
- Search for VPSUForm.
- Click Install Now, then Activate.

Once activated, you’ll see a new VPSUForm menu in your dashboard.
Step 2: Create a New Form
Now it’s time to build your contact form.

 2. Choose the Blank Form option or select a pre-built template like Simple Contact.
 3. Use the drag-and-drop builder to add fields like:
-
-
Name
-
Email
-
Message
-
- You can rearrange fields or edit labels as needed.
VPSUForm makes it super easy to customize the form layout and fields without any code.
Step 3: Configure Form Settings
Once you’ve added your fields, click on the Settings tab:

-
Email Notifications – Set the email address where you want to receive form entries.

-
Success Message – Customize the thank-you message visitors will see after submitting.

-
Spam Protection – Enable options like reCAPTCHA or hcaptcha protection.
Step 4: Add the Contact Form to Your Page
Now that your form is ready, let’s embed it on a page:
![]()
- Create or edit a WordPress page or post.
- Click the + block inserter and choose Shortcode.
- Paste your VPSUForm shortcode (found under Forms → Get Shortcode).
- Publish or update the page.
🎉 That’s it! Your contact form is now live.
Step 5: View Submissions
To view form entries:
-
Go to VPSUForm → Entries.
-
Here you’ll see a list of messages submitted via your forms, with options to filter, export, or mark entries.
Start Building Smarter Forms Today
VPSUForm isn’t just for contact forms. You can also create:
-
Newsletter signups
-
Survey forms
-
Registration forms
-
Feedback and quote requests
With a simple interface, conditional logic, file uploads, and webhook support — VPSUForm is the perfect choice for anyone who wants a powerful, flexible form solution inside WordPress.
👉 Download VPSUForm now and start building forms in minutes!